How to make a pie crust
August 7th, 2009 at 8:36 pm (Cooking)
 I made my first pie the other day—and followed it with my second pie a few days later. They provided the perfect final destination for my nectarine tree’s bounty. There’s something satisfying about making a pie and the crust and using your own homegrown fruit! Now if only I’d grown some sugarcane, harvested wheat, and milked my own cow… that would have been my own pie!
Now, while making pie-filling is trivial, making a good pie crust requires a bit more effort. I didn’t have the vegetable shortening that the recipe called for, so I substituted butter. I baked the first pie on an infernally hot day, and as I was squishing the butter into the flour, it was melting all over the place. The result was a gooey, sticky dough. I rolled it out anyway, with the liberal use of additional flour, using 2/3 of the dough for the bottom and the last 1/3 on top as the pie cover. And it turned out great.
But I suspected that the dough wasn’t supposed to be quite like that, and consultation with other pie-making friends confirmed this. So when I rolled up my sleeves to bake the second pie, I incorporated two useful tips I’d received.
- Instead of trying to cut or mash the butter into the the flour, freeze the butter and then grate it with a cheese grater.
- Instead of flailing around with rolling pin and flour, and scraping the dough off the cutting board with a knife, chill the dough and then roll it between two sheets of wax paper.
Both of these suggestions worked brilliantly, even though I didn’t bother to freeze the butter or chill the dough! I’d had success with the cheese grater before, when making biscuits, and it worked perfectly here—faster and less messy than other methods, and the mixture I got out was the appropriate “mealy” consistency, actually needing the recommended couple of tablespoons of water that caused it to glom into a dough.
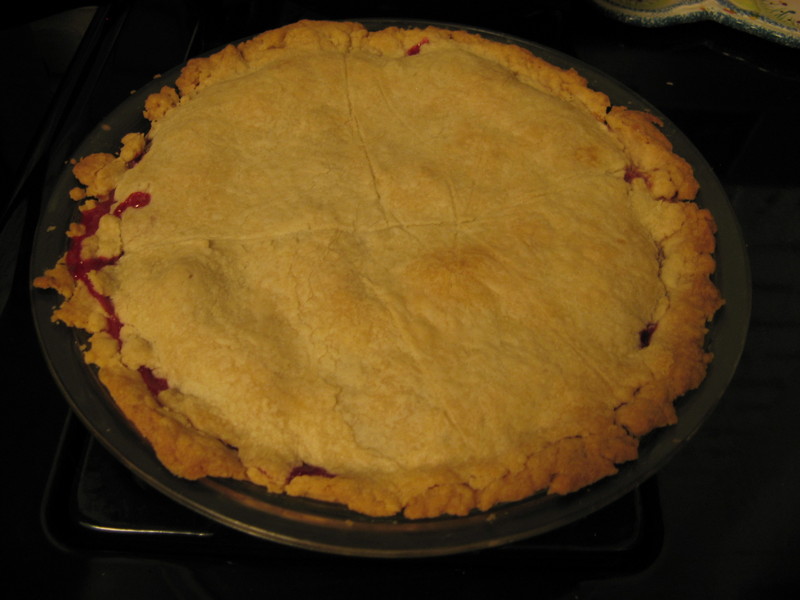
The wax paper trick is so fabulous that I wonder why it isn’t a staple of all pie recipes. (The one I have recommends rolling out the dough, folding it in half, lifting it into the pan (scraping with a knife if needed), and then unfolding it.) The wax paper not only saves you from having to add any flour (thereby altering the consistency slightly), but it is trivial to transfer the flattened dough into the pie pan (top or bottom) without breaking it; you simply invert the empty pie pan over the bottom crust, flip, and peel off the paper, and later flip the top crust onto the filled pie and again just peel off the paper. My wax paper worked a couple of wrinkles into itself, which left an interesting linear pattern on my pie crust, which I left because I liked it.
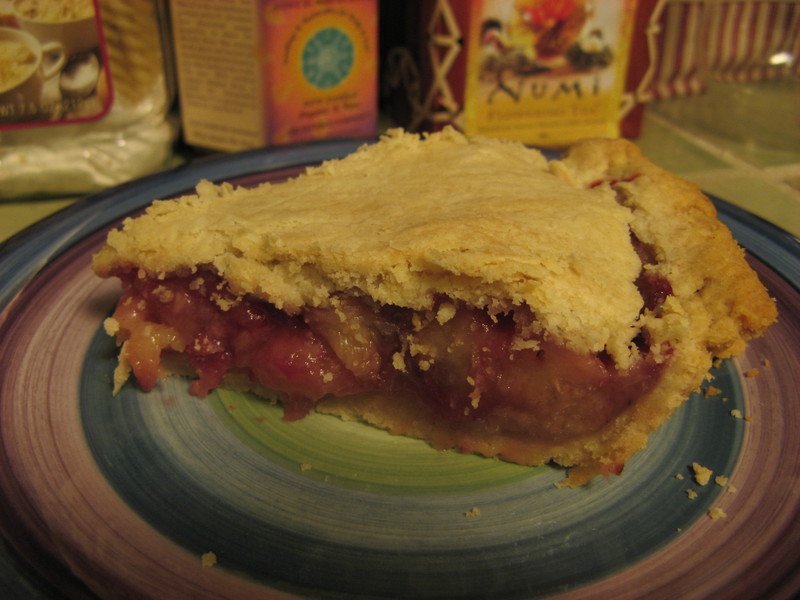
The end result with pie #2? A tasty, satisfying, even-thickness, flaky pie crust, with minimal effort.
Never content, friends are now giving me tips on cosmetic improvements, like crimping or fluting the pie crust edges, carving my initials in the pie top, or crafting a lattice. I’ll be sure to share any interesting future developments.
A life-long scholar said,
August 8, 2009 at 5:42 am
I think if you ever go back and try the vegetable based pie crust you will be disappointed. Butter crusts not only taste better, but are better behaved. One year for Thanksgiving I had a housemate with a dairy allergy, so I made two pumpkin pies–one using a butter crust, and my family recipie for the filling, which involves plenty of milk and eggs, and a second using a Crisco crust and using store-bought “egg replacer” and a non-dairy “milk”.
Doing them side-by side like that really underscored the difference in the ingredients. The butter crust was tasty (I have a weakness for nibbling the dough scraps while I work) and rolled out quickly and easily (and without bothering with the wax paper), but the Cirsco crust required much effort to get it to cooperate at all and was very frustrating to work with.
The contrast in the fillings was also interesting. My family recipie makes a thick, pale golden pumpkin-custard filling that stood nearly three inches tall. The non-dairy version, though using the exact same quantity of each substitute ingredient, resulted in a very dark orange, thin (about 1 inch tall) filling, which looks rather like the ones available for sale in grocery stores at that time of the year. I had previously wondered why grocery store pumpkin pies looked so dark and so flat–now I suspect that the answer is that they are saving money by not using milk and eggs in their recipie.
In other news, my grandmother swore by lard-based crusts for her pasties (which she did with a blend of 2/3 beef 1/3 pork in addition to potatoes, onion and carrot). Not being a meat-eater myself these days, I stick with butter for everything, both sweet and savoury pies.
wkiri said,
August 8, 2009 at 10:52 am
Thanks for sharing your experiences!
Apparently the original version of the recipe I received actually did call for lard. I hear that it’s even more tasty than butter (?) but I’ve never tried it. :)
Susan said,
August 8, 2009 at 11:04 am
I will take your experiences to heart. I’m eager to go on this quest of pie crusts. Terran has had a string of bad luck with them, so I’m curious to see if my fresh perspective will help.
wkiri said,
August 8, 2009 at 12:17 pm
I just saw his review of “Pie in the Sky”; it sounds like you’re well on your way to finding good tips for high-altitude, too! I like the experimentation-based approach the author took. :)
Nick said,
August 10, 2009 at 1:33 pm
You can also chop the butter, freeze it, and then drop it in the food processor with the flour – that way it stays relatively cold (since the processor is fast) and creates those nice little buttery granules which, when cooked, create the layers of flakiness that all great crusts should have. Best of luck with your future crusts!
Terran said,
November 28, 2009 at 4:17 pm
(Getting around to responding to this quite late…)
Instead of trying to cut or mash the butter into the the flour, freeze the butter and then grate it with a cheese grater.
Yeah, we tried this for biscuits and found it to be more pain than it was worth, at least for that application. (At least, I did.) Grating the butter took long enough that the bit I was holding on to had melted significantly before I got it all grated. And the bits came out small enough that they warmed in the room before I could really incorporate the dough. I guess my feeling at this point is that, for biscuits at least, traditional style cutting with a knife works fairly well. Close enough for government work, anyway. ;-)
Re: wax paper. I admit that I have not tried that trick yet. I *did* try a variant that Alton Brown suggested, wherein you put the ball of dough in a large ziplock bag and refrigerate it a bit after forming the dough, to bring it back down to chilly. Then you roll it out in the ziplock (which functions a bit like your wax paper) and then cut the bag along the edges to open it out.
It was pretty much a miserable failure. Somehow, my dough always seems to fracture or crack rather than rolling properly, and it’s a pain to try to repair it when it’s in the bag. Then the bag tended to stick to the dough, rather than coming away cleanly. *rolls eyes* I think I am just pie-crust cursed. :-P
I will give the wax paper trick a shot, though. Next time I feel brave enough to undertake pie crust, that is… ;-)
What I Learned Today » Blog Archive » Why chill cookie dough? said,
May 8, 2010 at 12:30 pm
[…] are quite squishy and sticky. I was already familiar with this concept from my previous experiences making pie crusts, although I’ve never chilled that dough after mixing it either (maybe I should try […]