A train on the Moon?

It’s still early times, but what a captivating thought!

Last year, DARPA created the LunA-10 study, a 10-year effort that “aims to rapidly develop foundational technology concepts that move away from individual scientific efforts within isolated, self-sufficient systems, toward a series of shareable, scalable systems that interoperate.”

So far, our trips to the Moon have been isolated visits, but if we’d like to get serious about sustained activity, additional infrastructure (for mobility, communication, energy generation, etc.) would surely be useful.

Recently, Northrop Grumman provided some details about their part of LunA-10, which aims to develop a framework for a railroad network on the Moon. How cool is that? I’d love to be part of that study.

LunA-10 participant updates are planned to be shared at the Lunar Surface Innovation Consortium meeting, final reports from each of the LunA-10 participants will be due in June – here’s hoping they’re made publicly available.

Railroad terminology

Recently I had the pleasure of taking a free online course offered by the Transportation Safety Institute (TSI) called Rail Nomenclature. As a big train fan, it was a delightful opportunity to learn about terminology related to trains and rail systems and to get more insight into how they work.

The introduction to the course quoted George Bernard Shaw as motivation:

“The single biggest problem in communication is the illusion that it has take place.”

… which has so many implications beyond just terminology for railroads! I agree!

I learned a lot from this course. For example, did you know that we have both the Federal Railroad Administration (in charge of transport of people (Amtrak) and freight via railroad) and the Federal Transit Administration (in charge of public transit, which includes buses, subways, commuter rail, etc.)? I was intrigued to learn that the U.S. has 47 rail transit systems, 4000 miles of track, and 4.2B trips per year – more than airlines, but fewer than buses. (This is just for systems controlled by the FTA, so the numbers exclude Amtrak numbers.)

The course covered terminology used to describe train cars themselves, parts of the track, signal systems, power systems, and more. There was quite a bit of detail about braking systems in particular – important if you’ve got several tons generating momentum to dissipate when you want to stop. When the train is going more than 3 mph, it uses “dynamic” brakes in which the motors driving the wheels stop and become generators instead. If electrical storage is available, they can serve as regenerative brakes. When the train is going more slowly, it employs friction brakes (e.g., calipers squeeze pads against the wheels to slow their rotation). Both of these brake types are familiar to car owners. However, the train has a third option for emergencies: track brakes, in which the train uses strong magnets to press metal shoes directly onto the rail for additional drag (I guess this would be like toe stops on roller skates :) ).

Another cool fact is that the rails do double duty: not only do they provide a surface for the train to roll on, but they also provide a medium for signaling. This can be as simple as a track circuit: if you run power through a segment of metal track with no train on it, the circuit is closed and the corresponding signal can show a green light indicating the track is unoccupied. When a train enters that segment, its axles short the rails together and current drops, triggering the signal light to change to red. Thus, any train approaching that segment gets an automatic warning of whether the track ahead is occupied, even if the approaching train cannot be seen. No person or computer is needed to actively monitor it. (If power to the track fails, the signal defaults to red.)
More courses are available through the TSI course catalog. This particular class required Flash and was a little difficult at first to get working due to popups etc. However, the course instruction was very visual and fun to follow along – it used Flash to animate drawings of the concepts as they were discussed. I don’t know if they plan to revamp the course, since Flash support ends on December 31, 2020. You might want to check it out now before it’s gone! You get a certificate at the end, of course. :)

How to sharpen a push reel mower

I have a lawn mower (reel mower) that is purely mechanical: you push it and as it moves it spins five curved blades that chop up the grass. It has no engine and uses no gas or electricity. Mowing the lawn with it is a nice exercise: you push it along and it makes a quiet snick-snick-snick sound as it cuts the grass. I’m very fond of it!

Yet over the years the blades grow dull. I figured I’d need to take it to a sharpening service, but then I found this Instructable that shows you how to sharpen a reel mower yourself. It’s quite clever *and* easy to do! You use the mower to “lap” its own curved blades, meaning to sharpen and align them by running them backwards against the fixed blade (“bed knife”). As advertised, this was straightforward: I swapped the gears on the two wheels, adjusted the bed knife (this was actually the trickiest part for me), smeared on “grinding compound” (I ordered this Permatex compound for just $4!), and then pushed the mower around for a while with its blades grinding each other smooth/sharp. In this process I also got to study just how the mower works (I love decoding machines) and to admire the built-in ingenuity and simplicity of it.


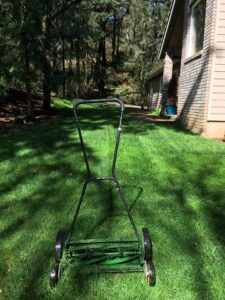
At least, that’s what it was supposed to do. After I’d pushed it for a while, I felt the blades with my finger. They had turned shiny (see picture at right), but didn’t feel sharp. I decided to give it a try. I swapped the gears back, readjusted the bed knife, and took my mower out to the lawn. And whoa! It cut the grass WAY BETTER than it had for a long time. In fact it cut it much shorter than before – I think with dull blades it was bending the grass over and cutting it longer. I had *wondered* why I had to leave the mower on the lowest height to get anything reasonable. Now I can set it to a higher (correct) setting and get the desired grass height. Very satisfying!

The mysterious Goodyear blimp

On a recent drive across the desert from California to Arizona, I decided to stop and see the Blythe airport. I had flown over it, but never landed and visited. To my delight, as I rolled up in my car, I discovered that the Goodyear blimp had just landed!

I had never seen it that close before. This one is Wingfoot Two (I later discovered that there are three in the current fleet). I talked briefly with one of the ground support staff and learned that the blimp was stopping in Blythe overnight on its way to Vegas to attend (and record/broadcast) a golf match. In this picture, the blimp is attached to a mobile mast on the right, and a tiny wheel at its aft end is touching the ground as they maneuver the blimp to its desired position. (Click the image to enlarge)

Later when I was back at a computer, I wanted to find out more about these blimps and how they work. Apparently Goodyear got into the lighter-than-air business in 1898, and in 1925 they flew the first blimp that used helium. Mostly they seem to have been used for advertising, and not just for their own tires. Some blimps have lighted panels on their sides where they can spell words or scroll messages; in 1966 they added the “Skytacular” which was in 4 colors and had animations; now they have “Eaglevision” which uses high-res LEDs and can show video :). I’ve never seen one in operation scrolling messages!

In WWII, they were used for patrolling the ocean (escorting navy convoys). I don’t know if they had any weapons.

In 1955, the blimp became the “first aerial platform to provide a live TV picture”… for the Rose Parade! :)

The Goodyear blimps use helium, which has about the same lifting force as hydrogen, but with the added benefit of not being explosive. The infamous Hindenburg disaster occurred when the (German) Hindenburg, which was also designed for use with helium, was instead filled with hydrogen, apparently because the U.S. was monopolizing helium for its own use, and helium had become correspondingly expensive internationally. The Hindenburg had 97 people onboard when it ignited in 1937 (36 died).

We actually have stunning real footage of the Hindenburg coming in to land and blowing up (!).

What Goodyear flies now is not technically a blimp (!) (“blimp” = no rigid structure) but instead a “semi-rigid airship” or “zeppelin”. (The Hindenburg was a third type of airship: fully rigid). However, Goodyear still encourages the use of the term “blimp.” Its max speed is 73 mph (not bad!), and it seats up to 14 people. Today’s Goodyear blimps are 246 feet long, compared with 804 feet (!) for the Hindenburg.

On my way back to California a few days later, I saw the blimp AGAIN, this time cruising eastward and following Interstate 10. It was less than 1000′ above the ground, which seemed curious to me. Fare you well, semi-rigid airship! :)

The Art of Getting There

Today I had the pleasure of visiting the Pasadena Museum of History. I went to check out their exhibit on railroad-inspired art. It was delightful! Among other things, several of the pieces were inspired by the very steam locomotive that I got to operate a few weeks ago (see art at right!), as well as other engines and people from the Nevada Northern Railway.

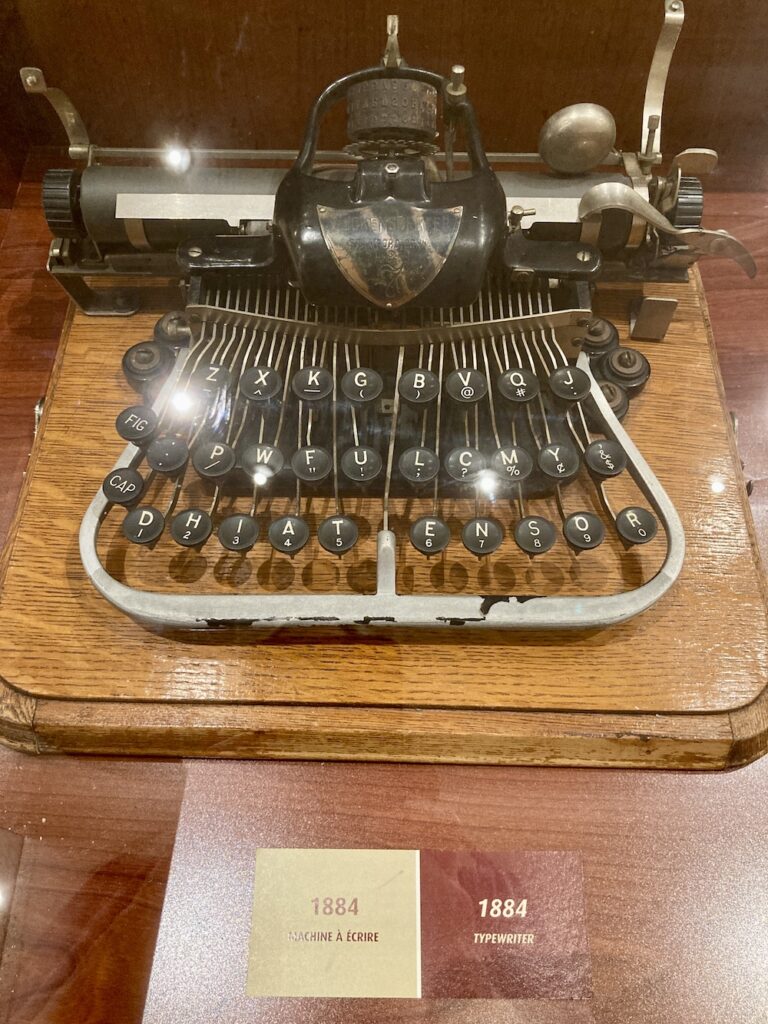
One artist whose work I enjoyed was Bradford Salamon. The first item in the gallery is a dynamic locomotive he painted (titled “Unknown Adventures”), which sadly I cannot find online or on his website to share with you (and photos were not permitted). It was accompanied by a charming statement describing how he enjoys painting “portraits” of objects, not to reproduce the objects, but instead to trigger a memory or feeling associated with them. He paints typewriters, phones, radios, cars, … and trains. Here is one of his trains that I was able to find:

There were also several woodblock prints from Japan that were commissioned to get the public excited when trains were first introduced in Japan (~1850s). Because they were commissioned before the trains actually arrived, and none of the artists had ever seen one, they often copied from U.S. or British publications that showed steam engines… and in one case a steam fire-engine (to put fires out)!

One artist copied from a picture of a train on the Panama Railway, in which one car had “U.S. Mail” printed on it; in the Japanese version, this became “U.S. Maus” (‘maus’ happens to be ‘mouse’ in German). The gallery showed the source images that the artists had used, and you could definitely see how “Mail” could be misinterpreted as “Maus” if you did not speak English!

Here is the Panama original (but not at high enough resolution to read the relevant letters):

Now I want to ride the Panama Railway! You can – it’s a one-hour ride that costs only $25, and includes an open-air viewing deck! Time for a trip to Panama? :)

Older entries »